Greetings! I had quite a few emails about obtaining the Gold Santa chart - this guy - and I wanted to post that there is a listing on EBay for 6 of them. http://www.ebay.com/itm/BIRDS-OF-A-FEATHER-GOLD-SANTA-CROSS-STITCH-PATTERN-OOP-/121039681905?pt=LH_DefaultDomain_0&hash=item1c2e86f971 Please excuse the blatant URL show ~ I have a cold and pounding head so I don't feel like doing the HTML. Several have come up recently and most sold for around $10. This is a Buy it Now (6 available - 1 sold) for $14.99 but she is accepting offers too.
I finished Sophia but haven't uploaded the photo yet so I will show you what I found at the antique mall instead. It's a vegetable slicer.
The label on the back is the Home Vegetable Slicer Pat. Feb 22, 1898.


Neat huh?

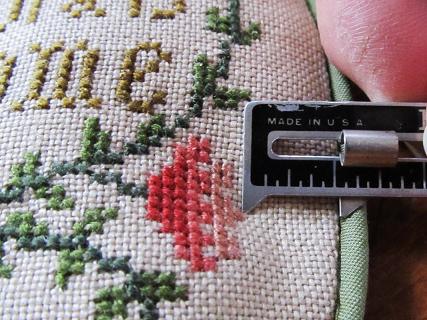
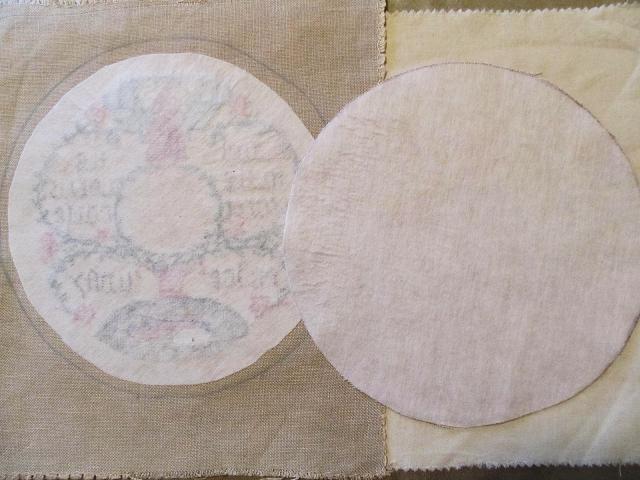
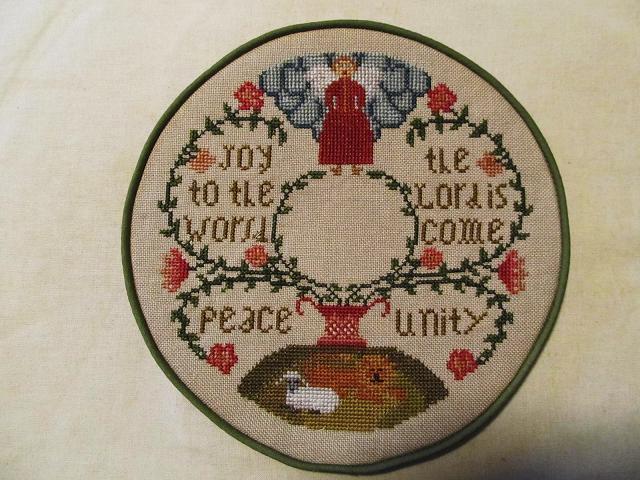
Homespun Samplar is having a 20% off chart sale so naturally I loaded up on R&R Reproductions' fabulous marking samplers for dirt cheap. I bought a dozen! Most of them must have been the last one since I don't see many of them still listed. I have another very primitive R & R to start - Susannah French - until I decide on a larger piece. Sophia is hanging on the side of my cupboard with Mary Oldfield. Today anyway.
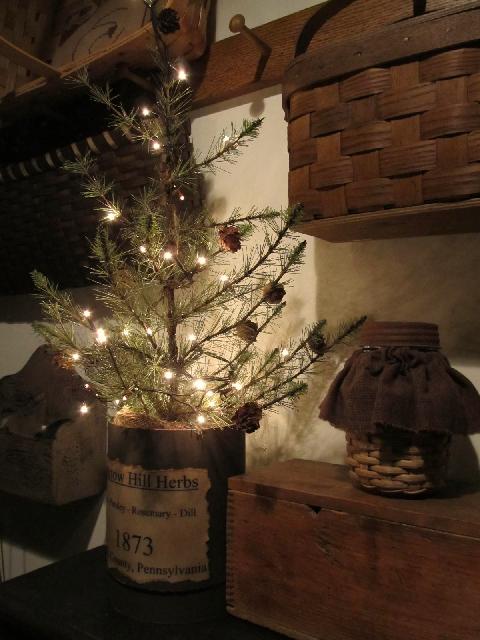
And of course, I have to mention the snow. You can see the trails in the yard. They're paths made with the snow blower so the cats can run around since the snow is too high for them. They chase each other like it's a race track. You can also see their condos. And what's left of the buried wheelbarrow and greens.

That's all I have. Just wanted to let you know about Gold Santa. My head is pounding on my teeth and I may get snarky if I continue.
We wouldn't want that. I got a shorter hair cut and once again my wild wire looks like a poisonous mushroom. Making snarky faces right now just adds to the look.
STAY SAFE - Best wishes for 2013.
xxxxxxxxxxxxxxxxxxx
+(2).jpg)